


Spring Vehicle Check-up: Your Post‑Winter Safety & Performance Checklist
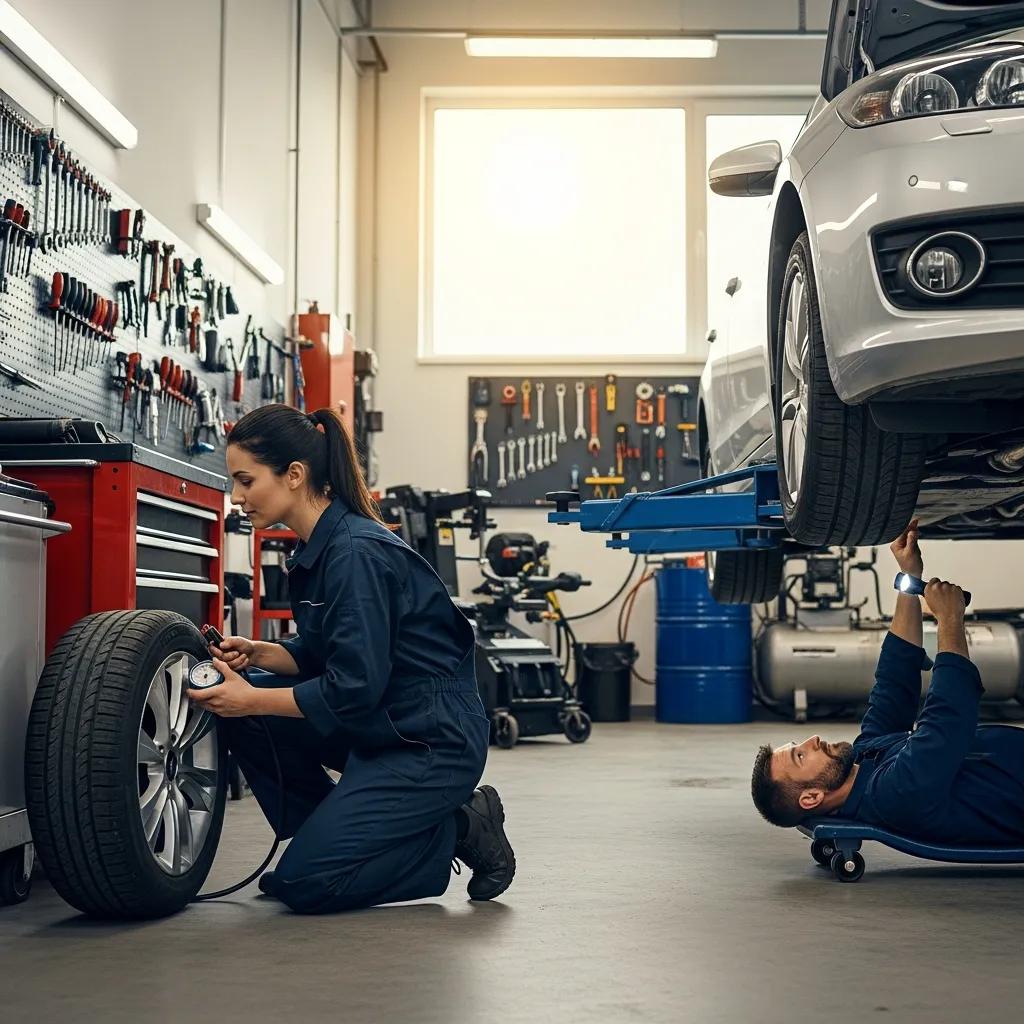
Spring is the best time to undo winter’s effects and make sure your car is safe, reliable, and efficient. Cold starts, road salt and potholes speed up corrosion, sap battery capacity and wear tires unevenly — and small issues left unchecked often grow into costly repairs. This guide walks you through what to inspect, why each item matters, and how to prioritize fixes so your vehicle returns to dependable daily use and keeps its resale or lease condition. You’ll get clear, step‑by‑step checks for tires, brakes, fluids, battery and the undercarriage, plus practical thresholds for DIY tasks versus when to bring your vehicle to a shop. We also call out regional concerns like salt corrosion and pothole damage, and explain when factory‑quality repairs, insurance help, or a free estimate make sense. Read on for concise checklists, quick decision tables and service‑minded advice for post‑winter recovery.
Why a Spring Check-up Matters After Winter
A focused spring inspection catches winter damage early — the kind caused by road salt, freeze‑thaw potholes and repeated cold starts — before it affects safety or drivability. Salt speeds corrosion under the car and on fasteners, potholes can bend suspension and throw alignment off, and cold weather reduces battery cranking power. Finding these problems in spring helps you avoid failures like a corroded brake line or a warped rotor, protects steering and braking, and preserves resale or lease condition by addressing visible and hidden wear before it spreads.
Common winter causes and what they can lead to:
- Corrosion on the undercarriage, exhaust and fasteners that can weaken structure and mounts.
- Pothole damage to tires and suspension that creates uneven wear and steering pull.
- Lowered battery capacity and degraded fluids that affect starting, charging and braking.
A professional inspection ties visible symptoms to hidden problems using diagnostic tools and OEM repair standards — which helps you decide which systems to check first.
How Winter Weather Impacts Vehicle Components
Winter harms cars in two main ways: chemically and mechanically. Road salt speeds metal corrosion, while cold makes rubber and plastics stiffer and more prone to cracking. Tire pressure drops in cold air, increasing wear and reducing traction. Batteries deliver less cranking current as chemistry slows at low temperatures. Mechanically, freeze‑thaw cycles and de‑icing create potholes that stress suspension, wheel bearings and steering parts. Those effects combine to cause both immediate performance changes and long‑term reliability issues that a close inspection will reveal.
Knowing these mechanisms helps you prioritize safety‑critical checks first — which leads to the risks of delaying post‑winter maintenance.
Risks of Skipping Post‑Winter Maintenance
Putting off spring maintenance raises the chance of component failure, reduces safety margins and increases repair costs as corrosion and wear spread. For instance, grit‑worn brake pads can lengthen stopping distances, and corroded suspension parts can fail or make handling unpredictable. Delaying repairs can also complicate insurance claims and lease returns if corrosion or collision damage is found later. Addressing issues in spring lowers accident risk and protects vehicle value by stopping small defects from becoming structural or mechanical failures.
Because of these risks, many drivers opt for professional diagnostics for an objective evaluation — starting with a high‑impact check: your tires.
How to Inspect and Maintain Tires After Winter Wear
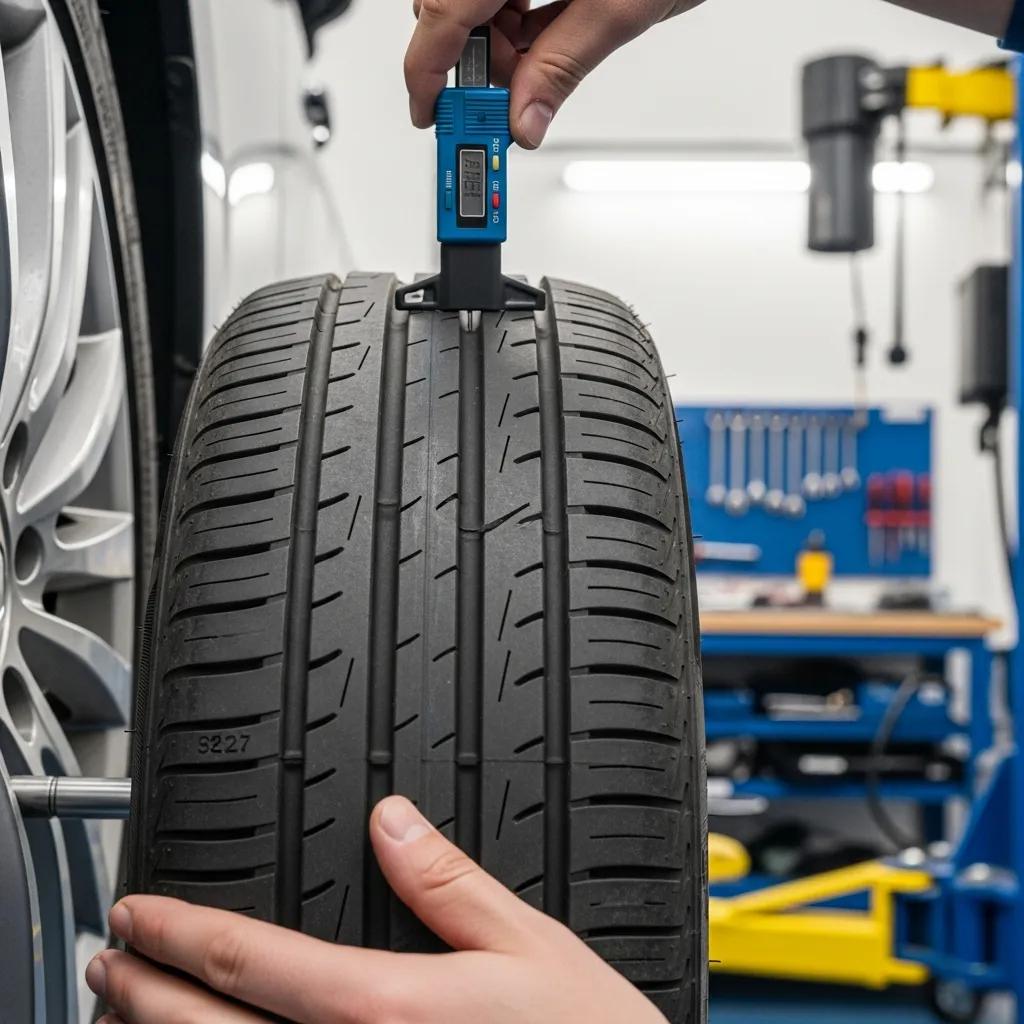
A spring tire check confirms pressure, tread depth, sidewall condition and alignment after winter, and it helps you decide whether to rotate, repair or replace tires for safe spring driving. Cold months often leave tires underinflated, which lowers fuel economy and speeds wear. Tread depth is critical for wet‑season traction. Look for sidewall cuts, bulges or embedded objects for immediate hazards, and check for uneven wear patterns that point to alignment or suspension problems requiring shop service. Proper tire care restores predictable handling and reduces hydroplaning risk during spring storms.
Follow these simple steps to inspect tires:
- Set tire pressure to the vehicle manufacturer’s cold PSI on the placard.
- Measure tread depth with a coin or tread gauge; plan replacement if below recommended levels.
- Scan sidewalls and tread for cuts, bulges or foreign objects — replace if structure is compromised.
These actions give you a practical routine. The quick table below helps you decide whether to rotate or replace tires.
Quick reference — tires: map common tire elements to measurements and recommended actions for your spring check.
| Tire Element | Measurement / Threshold | Recommended Action |
|---|---|---|
| Tread Depth | 4/32″ recommended for wet traction; 2/32″ legal minimum | Replace if at or below 2/32″; consider replacement at 4/32″ in wet climates |
| Tire Pressure | Vehicle placard PSI (cold) | Inflate to placard; re‑check monthly and after big temperature changes |
| Sidewall Condition | Cuts, bulges or separation | Replace immediately if there’s any structural damage |
| Uneven Wear | One‑sided, cupping, feathering | Rotate if mild; align and inspect suspension if wear continues; replace if severe |
Use this table to quickly decide whether tires are safe, need rotation or require replacement — which points to the next question: signs of wear and pressure loss.
Signs of Tire Wear and Pressure Loss
Look for low tread, frequent TPMS warnings, vibration, pulling to one side and uneven wear patterns. A coin test or tread gauge shows remaining tread; a slow, unexplained pressure drop often means a leak or valve issue. TPMS and dashboard alerts are early warnings, but how the car feels — pulling or vibrating — often reveals alignment or suspension problems that require rotation or servicing. Catching these signs early lowers blowout risk and improves wet‑weather handling.
These cues tell you which tasks you can do at home and when to visit a shop for service or replacement.
When to Rotate or Replace Tires This Spring
Rotate tires per your owner’s manual or every 5,000–8,000 miles, and replace when tread or damage compromises safety. Swap winter tires for all‑season or summer rubber when temperatures consistently rise and road conditions change. When replacing, match load and speed ratings to factory specs. If you notice uneven wear, steering pull or impact from potholes, get a professional wheel alignment — it restores even wear and handling. If you suspect structural tire damage, have a shop inspect before driving long distances.
When to see a pro:
- Immediate shop visit for visible sidewall damage or severe, uneven wear.
- Alignment and balancing if you feel vibration or steering pull after a seasonal tire change.
- Schedule rotation at your next oil change if uneven wear is developing.
Those guidelines help you make safe choices and lead into the next major check: brakes.
Key Brake System Checks for a Spring Tune‑Up
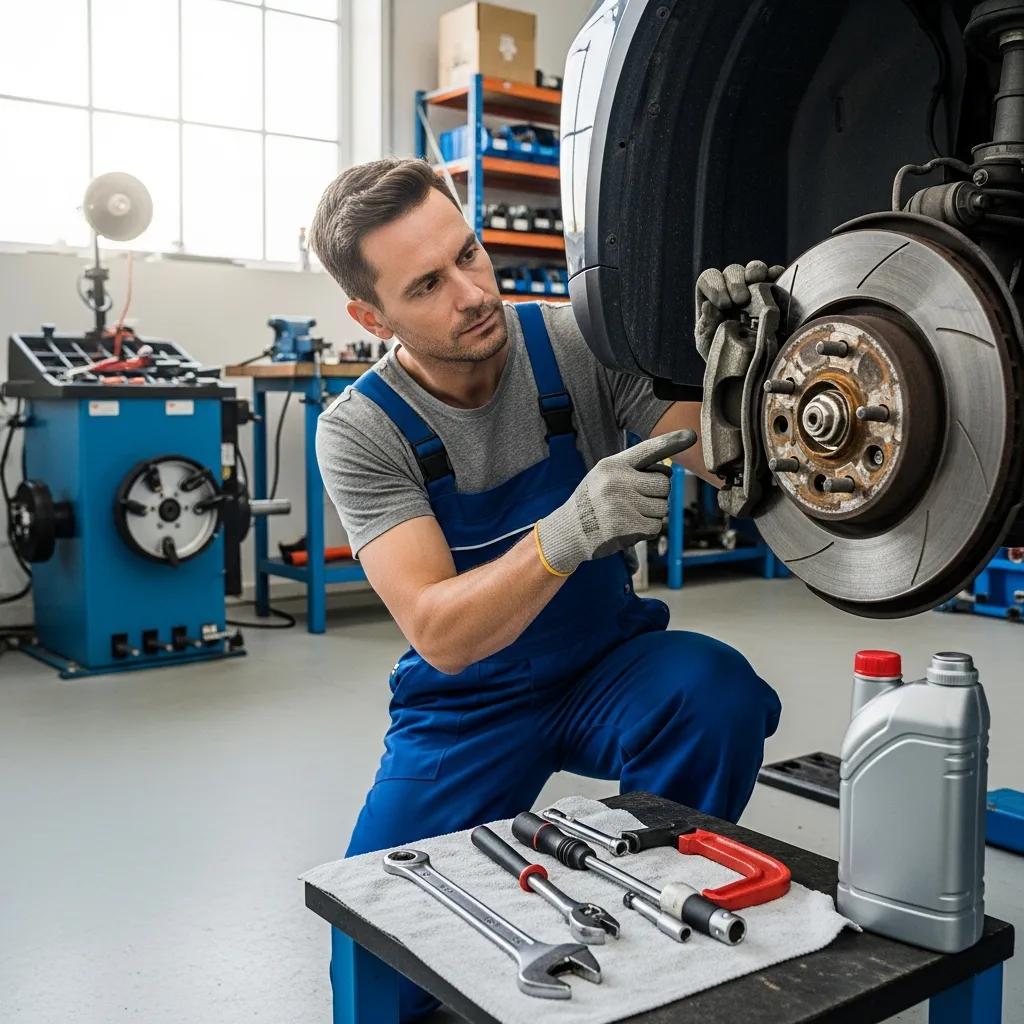
Brake checks should include visual inspection of pads and rotors, caliper and hose condition, plus brake fluid level and moisture testing. Salt and grit speed corrosion of pads and rotors, and moisture in brake fluid lowers boiling point, increasing risk under heavy braking. A spring brake inspection combines a visual check, a pedal‑feel test and, when needed, a fluid moisture test to set repair priorities. Addressing brake issues early protects occupants and prevents more costly rotor or line replacements later.
The table below links common symptoms to likely causes and recommended actions to help you triage brake concerns.
Quick reference — brakes: common symptoms, likely causes and suggested next steps for a spring inspection.
| Brake Component | Symptom / Diagnostic | Likely Cause / Recommended Repair |
|---|---|---|
| Brake Pads | Squeal or reduced pad thickness | Replace pads; check for uneven wear |
| Rotors | Pulsation in pedal or steering | Resurface or replace rotors if warped or deeply scored |
| Brake Fluid | Spongy pedal or dark fluid | Perform moisture test; flush and replace if contaminated |
| Calipers / Lines | Leaks or sticking calipers | Repair or replace leaking or seized components |
This table helps you prioritize emergency fixes versus scheduled service and guides visual and feel checks for pads and rotors.
How to Spot Brake Pad Wear and Rotor Issues
Inspect pad thickness — many manufacturers recommend replacement when friction material drops below about 3–4 mm — and look for glazing or heavy scoring that reduces bite. Rotors with deep grooves, heat discoloration or warping will cause pedal pulsation; light scoring may be resurfaced, while deep damage calls for replacement. Driving symptoms like grinding, loud squeals or a soft pedal are higher urgency and should trigger immediate inspection. Uneven pad wear can point to problems with bearings or calipers, so follow up if you see inconsistent wear.
These signs indicate whether resurfacing or replacement is the right step, and they lead into why brake fluid should be checked after winter.
Why Brake Fluid Inspection Matters After Winter
Brake fluid absorbs moisture over time (it’s hygroscopic), and winter conditions can accelerate contamination. Water in the system lowers the fluid’s boiling point and raises the risk of vapor lock under heavy braking. A spongy pedal or dark fluid in the reservoir suggests a moisture test or full flush is necessary. Shops use moisture testers to measure water percentage and determine whether a flush meets safety standards. Including a brake‑fluid check in your spring tune‑up is an affordable way to keep stopping performance consistent into warmer months.
Once fluid condition is checked, move on to other vehicle fluids that affect engine performance and cooling.
Which Fluids to Check and Top Off This Spring
Your spring fluid check should focus on engine oil, coolant, transmission fluid, power steering fluid, brake fluid and windshield washer fluid. Each affects safety, drivability or visibility after winter. Engine oil protects internal parts and will show contamination on the dipstick; coolant prevents overheating and needs correct concentration; transmission fluid affects shifting; power steering and brake fluids impact handling and stopping; and washer fluid clears spring pollen and road grime for safe visibility.
Quick fluids reference: what to check, how often and recommended actions for a spring inspection.
| Fluid | Check Method / Frequency | Recommended Action / Level |
|---|---|---|
| Engine Oil | Dipstick check monthly; inspect color/consistency | Change if dark/contaminated or per service interval |
| Coolant | Reservoir level and coolant concentration | Top to specified level; pressure‑test system if low |
| Transmission Fluid | Dipstick (if equipped) or shop inspection | Service if burnt smell, dark color or shifting problems |
| Power Steering Fluid | Reservoir level and steering response | Top off; inspect for leaks and flush if fluid is foamy |
| Brake Fluid | Reservoir color and professional moisture test | Flush if contaminated or moisture is above recommended level |
| Washer Fluid | Reservoir level | Top off for visibility; use de‑icer if needed |
These checks separate DIY top‑offs from fluids that usually need professional service, and they lead into step‑by‑step DIY methods.
How to Check Engine Oil, Coolant and Transmission Fluid Levels
Check engine oil on level ground and follow your owner’s manual for warm/cold reading procedure; read the dipstick for level and inspect oil color for contamination. Check coolant at the reservoir when the engine is cold; low or discolored coolant can indicate leaks or the need for pressure testing. Transmission fluid procedures vary — some vehicles have dipsticks, others require a lift and a temperature‑specific check — so consult your manual and consider a shop if you’re unsure. These safe DIY checks catch obvious issues; anything unusual should be diagnosed professionally.
With those covered, remember that power steering and brake fluid top‑offs affect handling directly.
Why Power Steering and Brake Fluid Top‑Offs Matter
Low power steering fluid can cause whining and heavier steering; low brake fluid often signals pad wear or a leak that reduces braking performance. Topping off can restore normal operation temporarily, but persistent low levels require finding and fixing the cause — leaking seals, worn pads or failing components. A proper spring check identifies whether a top‑off is sufficient or whether a flush, seal repair or part replacement is needed to keep driving safely. Fixing these issues early prevents emergency repairs later.
Next, assess the battery and electrical system after winter’s strain.
How to Assess Battery Health and Electrical Systems Post‑Winter
Battery checks include noting battery age, performing a load or conductance test, inspecting terminals for corrosion and observing electrical performance under load. Cold weather reduces battery capacity and increases starting demand; a battery that was marginal in winter can fail in cooler conditions if not tested. Corroded terminals raise resistance and mimic battery problems; cleaning terminals and checking cranking voltage help separate battery issues from charging‑system faults. A complete assessment prevents roadside failures as spring brings more electrical load from air conditioning and accessories.
Use this quick checklist to prioritize battery checks and when to get professional testing.
- Confirm battery age and look for swelling or leaks.
- Inspect and clean terminals; remove corrosion and tighten connections.
- Request a load or conductance test if you experience slow cranking or dimming lights.
These checks lead to signs of a weak battery and safe terminal maintenance steps you can perform.
Signs of a Weak Battery After Cold Weather
Slow engine cranking, dim headlights and intermittent electrical glitches are common signs of a weak battery. Repeated jump‑starts or long cranking attempts are clear warnings to replace the battery. Age is also a major factor — older batteries hold less charge and show higher internal resistance. If you notice dashboard lights dimming during starts or electronics resetting, schedule a professional load test to determine battery health. Catching these signs early prevents inconvenient failures during spring travel.
These symptoms point to cleaning and testing steps that follow.
How to Clean Battery Terminals and Test Performance
Disconnect the negative cable first, then the positive. Use a baking‑soda solution and a brush to remove corrosion while wearing eye protection; rinse, dry and reattach cables, tightening to spec. After cleaning, check resting voltage and cranking voltage; if voltage drops below safe levels or the alternator fails to maintain charging voltage, have a shop perform a conductance or load test. Professional testing gives a clear number for remaining capacity and charging‑system health, helping you decide whether to replace or monitor the battery. Proper terminal care reduces false failure symptoms and improves starting reliability into spring.
With battery and electrical checks complete, move on to undercarriage, visibility and alignment items that finish a spring recovery.
Additional Spring Maintenance to Recover from Winter Wear
Finish your spring checklist with an undercarriage salt wash and rust inspection, wiper blade replacement, suspension and wheel alignment checks, and inspection of belts, hoses and filters that hardened in cold weather. Removing salt and inspecting the undercarriage prevents progressive corrosion of fasteners, exhaust and sheet metal. Fresh wiper blades restore visibility against rain and pollen. Check suspension parts stressed by potholes for worn bushings or bent control arms — alignment issues accelerate tire wear and hurt handling. These steps complete a post‑winter recovery plan that protects safety and vehicle life.
Short checklist for additional spring items:
- Wash the undercarriage and visually inspect for rust after the salt season.
- Replace wiper blades and verify windshield washer operation.
- Inspect suspension components and schedule wheel alignment if needed.
- Replace air and cabin filters; inspect belts and hoses for cracking.
Completing these items helps avoid long‑term damage and points to how to inspect the undercarriage for salt‑related issues.
How to Inspect the Undercarriage for Rust and Salt Damage
Inspect common rust‑prone areas: frame rails, suspension mounts, brake lines and exhaust hangers. Use a flashlight and, when possible, a lift for a proper view. Surface rust can often be cleaned and treated, but deep corrosion near mounting points or structural members needs professional evaluation and repair. Pay close attention to fasteners and brackets that secure brake and fuel lines — their failure is a safety risk. Replace severely corroded components promptly. If corrosion is extensive, a trained technician can assess structural integrity and recommend OEM‑quality repairs.
These inspection findings lead into guidance on wiper replacement and alignment after winter.
When to Replace Wiper Blades and Check Suspension Alignment
Replace wiper blades at the first signs of streaking, tearing or poor contact with the glass — usually annually or after heavy winter use — because clear visibility is a primary safety factor in spring rain. Check alignment if the vehicle pulls to one side, if tires show uneven wear, or after hitting potholes; proper alignment restores predictable steering and extends tire life. Simple checks include watching for streaks on wet glass and noting steering pull on a straight road. Persistent issues deserve shop service for blades, alignment or suspension repairs. If you need repairs, choose a shop that offers OEM quality, insurance assistance and complimentary estimates to protect vehicle condition.
When DIY checks uncover issues, it helps to know where to turn for professional repairs and support.
The Prime Time Collision Center Difference
Prime Time Collision Center is a local auto body and collision repair shop focused on OEM‑quality repairs, insurance support and customer trust. Serving Glendale, Burbank, Pasadena and greater Los Angeles, we handle collision repairs, mechanical work, paintless dent repair and general maintenance. We offer free repair estimates, insurance claim assistance, 24/7 towing and I‑CAR Platinum‑certified technicians who follow factory repair standards. If your spring check uncovers corrosion, undercarriage collision damage, or brake and alignment issues beyond DIY, our inspection and OEM‑level repairs help protect safety and resale or lease condition.
Next steps to get professional help:
- Schedule an inspection: Book a professional inspection if you find any urgent signs during your check.
- Request a free repair estimate: Compare options and confirm OEM repair standards before you commit.
- Ask about insurance help and towing: For collision or immobility issues, insurance guidance and 24/7 towing cut stress and downtime.
These action items turn a spring check into safe, documented repairs when needed.
Frequently Asked Questions
What should I do if I find rust on my vehicle during the spring check‑up?
Assess the rust depth. Surface rust can often be cleaned and treated with protective coatings, but deep corrosion near structural components needs a professional assessment and repair. Don’t ignore rust — it can weaken mounts and structure. Talk to a qualified technician for a full inspection and recommended repair options to restore your vehicle’s integrity.
How often should I perform a spring vehicle check‑up?
A spring check‑up is recommended once a year right after winter to catch seasonal damage. If you regularly drive in harsh conditions or notice issues, schedule checks more often. Regular seasonal maintenance protects safety and resale value and keeps you proactive about your vehicle’s health.
Can I perform a spring vehicle check‑up myself, or should I hire a professional?
You can handle many DIY checks — tire pressure, fluid top‑offs and basic visual inspections — but critical systems like brakes, suspension and the undercarriage are best inspected by a professional with the right tools and experience. A shop can find hidden issues and provide repair options that ensure safety and compliance with manufacturer standards.
What are the signs that my vehicle needs immediate attention during a spring check‑up?
Seek immediate attention for unusual noises, dashboard warning lights, difficulty starting, visible leaks or significant rust. Changes in handling — pulling to one side or vibrations — can indicate alignment or suspension problems. Address these symptoms quickly to avoid further damage and to keep your vehicle safe for spring driving.
How can I prevent future winter‑related damage to my vehicle?
Prevent winter damage with regular undercarriage washes to remove salt, consider a protective undercoating, maintain correct tire pressure and top off fluids before cold weather arrives. Using quality winter tires improves traction in snow. Routine maintenance and prompt attention to issues reduce long‑term corrosion and wear.
What should I do if my vehicle fails the spring check‑up?
If your vehicle fails, prioritize safety items like brakes or tires and get a detailed assessment from a professional mechanic. Use free estimates to compare repair options and timelines. Complete the necessary repairs promptly to make the vehicle safe to drive and to prevent more expensive damage later.
Conclusion
A thorough spring vehicle check‑up restores safety and performance after winter’s wear. By addressing corrosion, tire wear and fluid condition now, you prevent bigger problems and enjoy safer, more reliable driving all season. Don’t wait for small issues to grow — schedule a professional inspection and, if needed, an OEM‑quality repair. Trust Prime Time Collision Center for expert service and peace of mind as you get back on the road this spring.


