


Night Driving Safety: How to Improve Visibility and Keep Yourself Safe After Dark
Driving at night changes everything — what your eyes see, how your car behaves, and how roads appear. Crash rates per mile rise after dark because visibility drops, glare becomes a factor, and fatigue or impairment is more common. This guide walks you through the things drivers and vehicles need to reduce risk and sharpen night-time visibility. You’ll learn how to spot the most common night hazards, tune your lights and ADAS, handle glare and wildlife, and take the right steps after a night-time crash. We also explain why OEM-quality repairs and certified recalibration matter when restoring systems that keep you safe at night. Use the checklists and clear steps here to drive with more confidence tonight.
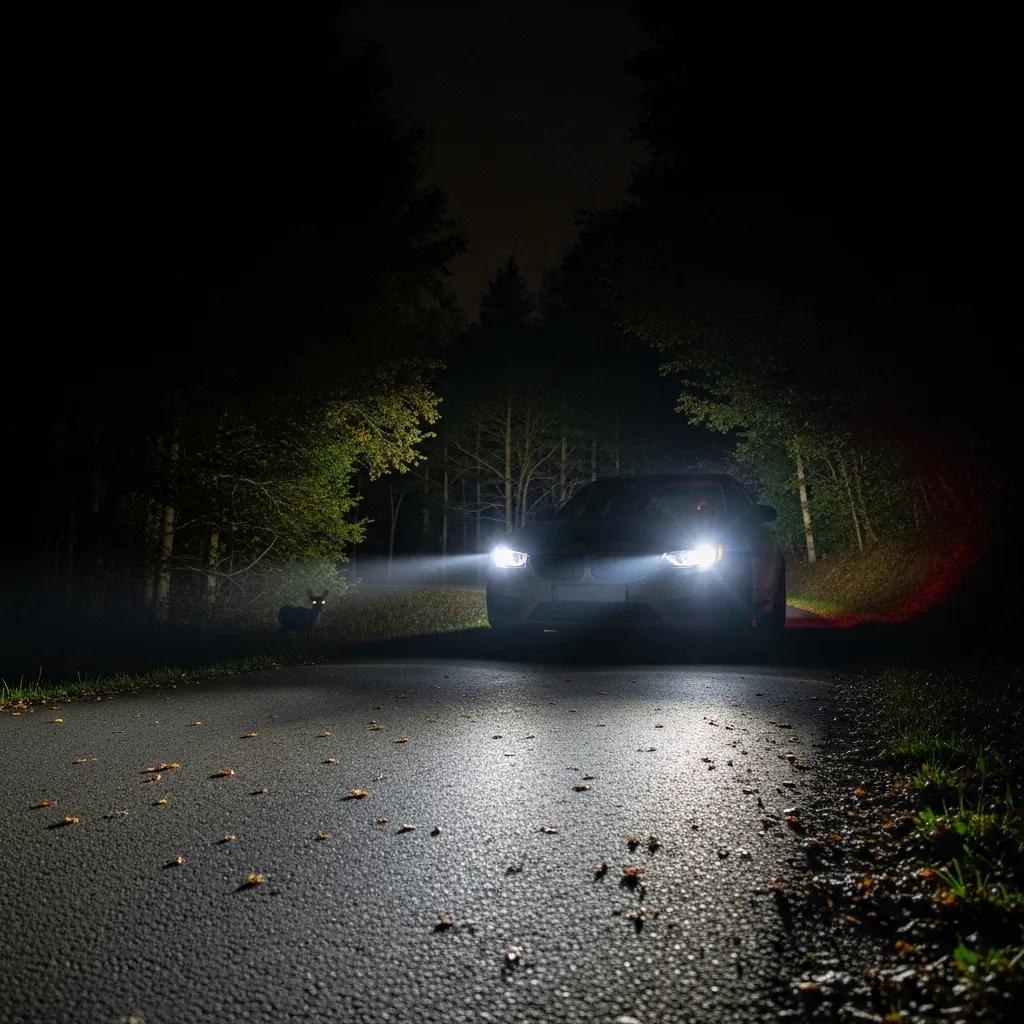
Why night driving is riskier — and what you can do about it
Less ambient light lowers contrast and flattens depth cues, so hazards appear later and with less detail. Reduced vision combined with speed and close following distances lengthens stopping time, and oncoming headlights can temporarily blind you. The good news: behavior and simple vehicle checks make a big difference. Slow down, give yourself extra space, watch for drowsiness, and keep your lights and glass in top shape. Below are immediate actions you can take before or during a night trip.
Quick actions for safer night driving:
- Slow down and add space: Lower speed and increase following distance so you have more time to see and react.
- Watch for fatigue: Yawning, drifting, or trouble focusing are signs to stop and rest.
- Use the right beam: Low beams around traffic; high beams on empty roads when legal — and dim them for others.
- Keep lights and glass clean: Clean headlights, windshield, and mirrors to reduce scatter and restore contrast.
- Look ahead and to the sides: Scan farther down the road and to the shoulders for animals, pedestrians, or stalled cars.
These steps cut your exposure to core night hazards and set you up for the vehicle-focused checks below.
What makes night driving hazardous?
Night risks come from three places: human vision (lower contrast and glare sensitivity), the environment (dark roads, wildlife, poor lighting), and behavior (fatigue, impairment, speed). Reduced visibility delays hazard detection, glare can temporarily disable night vision, and tired or impaired drivers react slower. Combine those with wildlife crossings or poorly lit roads and you’ve got more potential for sudden danger. The best strategy is to improve detection and reaction — use deliberate scanning, keep safe gaps, and address vehicle systems that affect visibility.
With those risks in mind, the next section covers how to keep headlights, windshield, mirrors, tires, brakes, and ADAS working their best at night.
How can drivers prevent fatigue and stay alert at night?
Preventing fatigue starts before you leave: get a good night’s sleep and avoid trips during your low circadian periods when possible. On long drives, schedule 15–20 minute breaks, rotate drivers if you can, and use short caffeine boosts strategically. In the car, stay hydrated and stop as soon as you notice warning signs like heavy eyelids or lane drift.
Microsleeps — very brief lapses in attention — are dangerous. If you suspect one, pull over safely and rest. Defensive-driving courses also teach how to recognize and plan around fatigue, which pairs well with the vehicle maintenance tips below.
How to prepare your vehicle for safer night driving
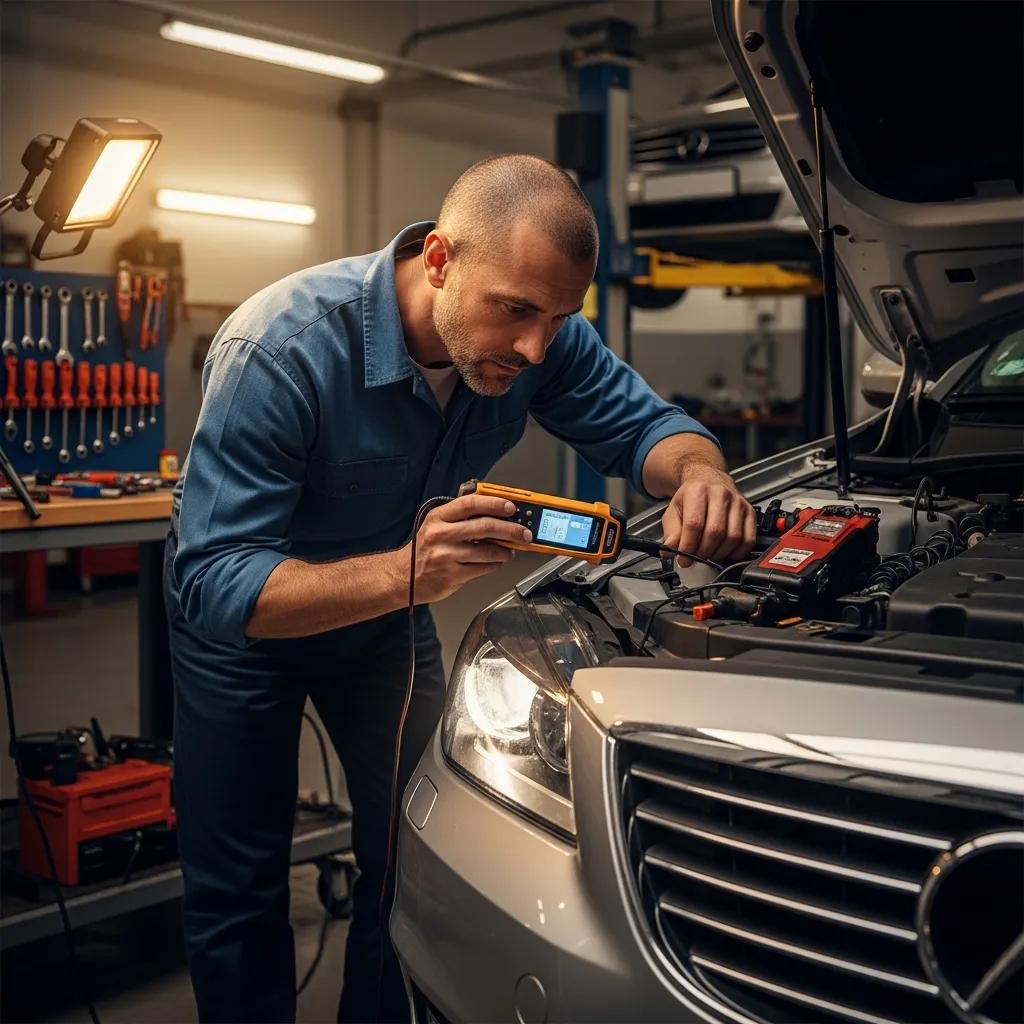
Start with the basics: headlights, glass, mirrors, tires, brakes, and ADAS sensors should all be working and aimed correctly. Beam pattern, clean lenses, and precise aim control how far and how clearly you see. A clear windshield and properly positioned mirrors reduce glare and distortion. Good tires and brakes shorten stopping distance, and ADAS systems need clean, calibrated sensors to assist reliably at night. Use the checklist below to inspect these systems quickly.
Vehicle checklist for night driving:
- Clean and inspect headlights: Make sure lenses are clear and bulbs shine steadily; address clouding or yellowing promptly.
- Check beam aim and pattern: Proper alignment prevents blind spots and limits glare for other drivers.
- Keep windshield and mirrors clear: Fix chips, remove streaks, and consider anti-reflective or hydrophobic treatments.
- Verify tires and brakes: Confirm tread depth, correct pressure, and healthy brakes to reduce stopping distance.
- Clean ADAS sensors: Wipe cameras and radar modules and run diagnostics to ensure systems like automatic high beams work as intended.
These are simple checks you can do before a night drive; the following section explains why headlight care is especially important.
Why headlight maintenance matters for night visibility
Headlights determine how far ahead you can see and how visible you are to others. Common issues include dimming bulbs, fogged or yellowed lenses, and misaligned beams that either shorten your view or create glare. Regular checks should include aim, beam shape, and light color/intensity. Clean or restore lenses when scatter reduces effective range, and replace bulbs or modules when output drops.
If restoration isn’t enough, OEM-spec replacements keep beam geometry correct. Professional shops can aim headlights precisely and service adaptive systems so your lights behave as designed — a simple way to reduce crash risk and make night driving safer for everyone.
Below is a quick comparison of common headlight types, their typical problems, and suggested service actions.
| Headlight Type | Common Issue | Recommended Service/Benefit |
|---|---|---|
| Halogen bulbs | Dimming and yellowing over time | Replace bulbs and re-aim to restore range and accurate color |
| HID / Xenon | Ballast or ignition instability; glare if misaligned | Professional aiming and ballast checks for stable output |
| LED modules | Thermal or module failures | Inspect cooling and replace with OEM-equivalent units when needed |
| Adaptive headlights | Sensor or actuator misalignment | Diagnostic calibration to restore correct beam steering |
| Clouded lenses (any type) | Light scatter and reduced output | Lens restoration or replacement to recover useful lumens |
Fixing both output and aim gives the biggest visibility gains. The next section covers how windshield and mirror clarity affect what you see at night.
How windshield and mirror clarity change night vision
Smudges, chips, or oily film on glass scatter light and create halos that hide details. A two-step clean — detergent wash then a glass polish — removes residue and streaks. Anti-reflective or hydrophobic coatings reduce glare and help water bead away on wet nights. Position mirrors to limit headlight reflections and use the rearview’s night/dim setting to cut glare.
If chips or cracks sit in your line of sight, repair or replace the windshield to restore optical clarity. Professional glass work keeps curvature and seals correct, which preserves how light refracts and helps you detect hazards sooner.
How OEM-certified repairs protect night driving safety
After a collision, OEM-certified repairs and trained technicians ensure parts, fit, and procedures match the manufacturer’s specs. That precision preserves beam geometry, sensor placement, and structural alignment — all of which affect headlight aim and ADAS reliability. Choosing OEM-quality parts and certified technicians lowers the risk of misalignment or degraded performance that could compromise safety at night.
Three main safety benefits of OEM-certified repair work:
- Correct fit and function: OEM parts restore geometry that controls headlight aim and sensor locations.
- Certified technician processes: Trained staff follow factory steps that reduce common repair mistakes.
- Proper ADAS calibration: Factory procedures and diagnostic checks ensure cameras, radar, and automatic lighting work at night.
The table below links repair attributes to the night-driving outcomes they protect.
| Repair Attribute | Attribute Detail | Outcome for Night Driving |
|---|---|---|
| Genuine OEM parts | Exact fit and material specifications | Restored beam geometry and correct sensor mounting |
| Technician certification | I-CAR or manufacturer training | Fewer repair errors that affect lights and sensors |
| Documented procedures | Factory steps and torque specs | Consistent structural alignment and system function |
| ADAS recalibration | Post-repair diagnostics and calibration | Reliable automatic high beams and driver-assist features |
| Quality control checks | Final verification tests | Confirmed system performance under night conditions |
How I-CAR Platinum certification improves collision repairs
I-CAR Platinum status shows a shop’s commitment to ongoing technician training and repair best practices. Technicians with advanced training use correct equipment, follow structural repair steps, and document work to preserve vehicle geometry and system integrity. That reduces risks like misaligned headlight mounts, incorrect wiring, or poorly positioned sensors that can undermine night-driving features.
Certified shops also run quality checkpoints — visual checks, diagnostic scans, and test drives — to confirm headlight aim and ADAS function before returning the vehicle to you. Those steps give you extra confidence that repaired systems will perform at night.
Why ADAS calibration matters after a collision
ADAS systems — automatic high beams, lane cameras, forward radar — help you detect hazards at night. After a crash, sensor shifts, panel replacements, or windshield changes can knock calibration out of tolerance, causing false warnings or missed detections. Proper recalibration restores the spatial relationship between sensors and vehicle geometry so ADAS features respond correctly.
Without correct calibration you may see false alerts, missed targets, or incorrect headlight leveling — all of which reduce night safety. Recalibration should include diagnostic scans, road testing under varied lighting, and alignment to manufacturer specs to re-enable ADAS support.
How to manage environmental hazards at night
Manage glare, wildlife, and bad weather with driving techniques that reduce surprise and increase reaction time. Combine safe behaviors with well-maintained equipment to cut your crash risk after dark.
- Mirror and gaze strategy: Use the night/dim setting and glance slightly right of oncoming lights to avoid direct glare.
- Watch for wildlife: Slow down in known crossing areas and scan the road edges more often.
- Fog and heavy rain: Use fog lights if legal, slow down, and avoid high beams in heavy precipitation to limit backscatter.
These behavior changes form a practical layer of protection and lead into specific anti-glare tips below.
How to reduce glare from oncoming headlights
Start with your vehicle: dim interior lights, use the rearview’s night setting, and keep glass clean to reduce scatter. When headlights approach, don’t stare — focus on the right lane edge so you keep track of the road without looking into the light. Anti-reflective windshield treatments and properly aimed headlights help more than sunglasses, which aren’t recommended at night.
If glare temporarily blinds you, slow and steer safely toward the shoulder until vision returns. Resume driving only when you’re sure your sight is clear; this reduces the chance of overcorrection or an avoidable collision.
How to handle wildlife and bad weather at night
Anticipatory driving is the safest approach: slow down, scan more often, and be ready to brake in a straight line. In animal-prone areas, use high beams when appropriate to spot movement earlier but dim for oncoming cars. In fog, rain, or snow, drop speed further, use the right lights, and increase following distance for reduced traction and visibility.
If an animal appears, braking while sounding your horn is usually safer than swerving into traffic or off the road. These tactics lower your chance of collision and set the stage for the post-crash actions that follow.
After a nighttime accident: steps to stay safe and preserve your claim
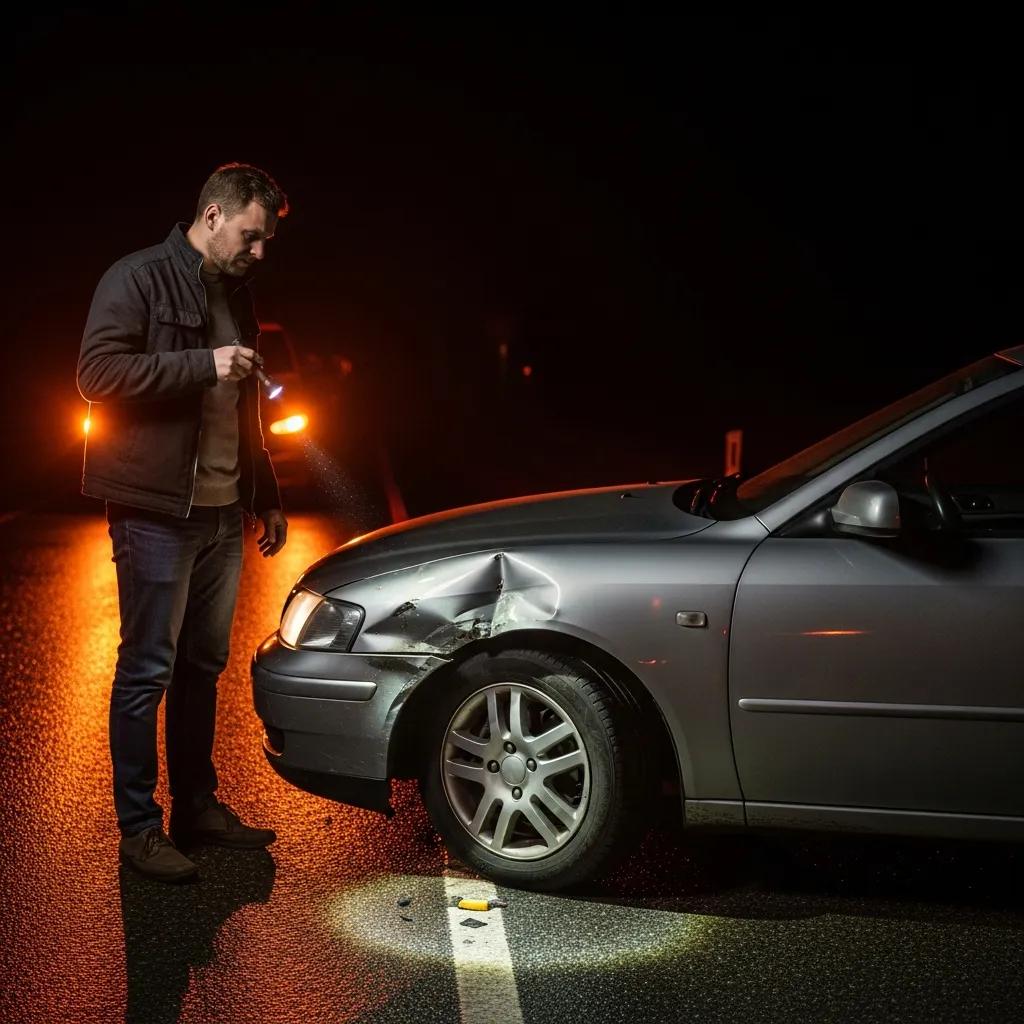
Right after a night collision, put safety first and make your vehicle visible before you handle paperwork. If the car can be moved safely, pull it out of traffic, switch on hazards, and set out reflective triangles or flares if you have them. Check for injuries and call emergency services when needed. Then document the scene with photos, note lighting and road conditions, and collect contact and insurance information.
Follow this step-by-step list to secure the scene, preserve evidence, and get repairs that restore night-driving safety.
- Secure safety first: Move people to a safe spot and call emergency services for any injuries.
- Warn other drivers: Turn on hazard lights and use reflective devices to prevent a secondary crash.
- Document everything: Photograph vehicle positions, damage, road signs, and lighting to support your claim.
- Exchange details: Get names, insurance, and vehicle information from other drivers and witnesses.
- Arrange towing and repairs: If the car isn’t safe to drive, get it towed and plan repairs that restore lights and ADAS function.
After you handle immediate safety and documentation, working with a reputable local repair shop makes it easier to return your vehicle to a safe night-driving condition.
How Prime Time Collision Center helps after night accidents
Prime Time Collision Center provides the local support drivers need after a night crash: 24/7 towing, free estimates for fast documentation, and I-CAR-trained technicians who follow OEM repair processes. We perform ADAS diagnostics and recalibration so headlights, sensors, and structural components meet factory standards. We also coordinate with major insurance companies to move repairs along faster and reduce downtime.
When you call, expect us to prioritize safety, document damage for insurance, and walk you through the repair and calibration steps needed to restore night-driving systems — exactly the actions listed in the checklist above.
The table below matches common post-crash needs to the local support a quality OEM-focused shop provides.
| Immediate Need | Immediate Action | Local Support Provided |
|---|---|---|
| Towing | Move vehicle to safety | 24/7 towing to prevent additional hazards |
| Damage estimate | Document and quantify damage | Free estimates and photos for insurance |
| Safety system checks | Verify lights and sensors | ADAS diagnostics and recalibration |
| Insurance coordination | Submit claim information | Work with major insurers to streamline claims |
| Repair quality | Restore fit and function | OEM-focused repairs by certified technicians |
Why OEM-certified repairs matter after a crash
Choosing OEM-certified repairs matters because exact fit, correct materials, and proper calibration return your vehicle to the manufacturer’s performance targets — important for safe night driving. Non-OEM parts or skipped calibrations can change headlight aim, misplace sensors, or alter structure behavior, which may reduce detection, braking, or lighting performance when you need it most. OEM repairs help preserve safety and long-term vehicle value.
Over time, sticking with OEM-aligned repairs keeps lights, sensors, and structure performing as designed — critical when beam geometry and sensor alignment directly affect how quickly you see and respond to hazards at night.
Frequently Asked Questions
What should I do if I encounter wildlife while driving at night?
Slow down and stay alert in areas known for wildlife. Use high beams when safe to spot animals sooner, but dim them for oncoming traffic. If an animal is on the road, brake firmly in a straight line and sound your horn. Avoid swerving whenever possible — it often makes a collision worse. Watch seasonal patterns that increase animal activity.
How can I improve my night vision while driving?
Maximize your visibility by keeping headlights clean and properly aimed, adjusting mirrors to cut glare, and using anti-reflective windshield treatments if helpful. Don’t stare at oncoming lights — focus on the right edge of the road. Regular eye exams and anti-reflective lenses can also improve clarity at night.
What are the best practices for using headlights at night?
Use low beams around other vehicles; switch to high beams on unlit roads when legal. Check that headlights are clean, aligned, and functioning at full brightness. In bad weather, use fog lights where appropriate and avoid high beams in heavy precipitation to reduce backscatter.
How can I manage glare from oncoming headlights?
Set the rearview to its night/dim position, lower interior lights, and keep your windshield clean. When headlights approach, look toward the right side of your lane instead of staring into the lights. If glare temporarily blinds you, pull over safely until your vision clears.
What should I check on my vehicle before a night drive?
Confirm your headlights are clean, aimed, and bright. Inspect the windshield and mirrors for clarity. Check tire pressure and tread depth, and make sure brakes are in good condition. Wipe ADAS sensors and verify systems are calibrated when required.
How can I stay alert during long night drives?
Be well-rested before you go and take breaks every 1.5–2 hours. Stay hydrated, use caffeine strategically, and stop at the first signs of fatigue. Short naps, stretching breaks, conversation, or upbeat audio can help keep you alert, but always pull over if you feel drowsy.
Conclusion
Night driving brings special challenges, but practical choices make a big difference. Keep your vehicle maintained, watch for fatigue, use smart driving techniques, and rely on certified repair and calibration after a crash to restore safety-critical systems. With these steps, you’ll be better prepared to handle the road after dark. Stay safe, and call Prime Time Collision Center if you need help restoring your vehicle’s night-driving performance.


